Jsvx
Contents
The Building Blocks
Before we dive in, we'll discuss the basic building blocks of an application in Jsvx. If you learn better through hands-on examples, feel free to skip forward to Putting it all together to see an example of all these pieces in action. Then look back for clarification on what each object represents.
Vx_world
A vx_world is a collection of objects that can be rendered in the same scene. Most simple applications only need one vx_world, but nothing says you can’t have more. You can think of a vx_world as a setting, a scene, or a room. If objects can appear in the same camera frame, they need to be in the same vx_world. A vx_world is created with a call to vx_world_create:
vx_world_t *vw = vx_world_create();
Vx Objects
A vx_object is something that can be drawn in 3D space. Some are simple, such as circles, spheres, and other geometric shapes, while others can be more complex. At this writing, the built-ins are pretty bare, including points, lines, circles, spheres, images, text, robot (a triangle), and console. All vx objects carry the prefix vxo_. There are also some special objects for manipulating other objects called vxo_chain, and vxo_matrix. We'll talk about these below. Here's an example of how to create a vx object:
vx_object_t *vo = vxo_circle_solid({1.0, 1.0, 1.0, 1.0}); // This creates an opaque white circle.
Chaining objects
All vx_objects start with their own reference frame, generally with the origin at their centers, and generally with unit dimensions. But most of the time we want to draw objects at places other than the origin, and with different sizes. To accomplish this we use sequences of matrices to translate, rotate, and scale our objects. And the magic that makes all of this happen is called a vxo_chain. A vxo_chain is a special object whose constructor accepts any number of other objects, including matrices for reference frame manipulation and objects for placement in the frame. Here's an example:
vx_object_t *vo = vxo_chain(vxo_matrix_translate(1, 1, 1),
                            vxo_matrix_scale(2),
                            vxo_circle_solid({0.0, 0.0, 1.0, 1.0}),
                            NULL);
This will draw a radius 2 red circle at (1, 1, 1).
Vx_buffer
A vx_buffer is a collection of objects in a vx_world that are rendered together. They represent a group of objects that can be “turned on and off”, similar to a "layer" in many photo editing applications. Vx_buffers are also the only way to render objects in Jsvx. The reason that Vx supports named buffers is that it allows different parts of your code to independently manage different aspects of your display. For example, one part of your code might be responsible for drawing your robot, whereas another might be responsible for drawing targets that you've detected. By using differently named buffers for each of these, you don't need to have a single "draw" function: your two modules can independently update their visualizations. To render an object, or collection of objects, follow these steps.
- Ask the vx_world for a named buffer. (if a buffer with that name exists, the vx_world will return a pointer to the existing buffer)
vx_buffer_t *vb = vx_world_get_buffer(vw, "buffer_name");
- Add objects to the back of the buffer (vx_buffers implement double buffering to prevent tears and jitters during rendering.) https://docs.oracle.com/javase/tutorial/extra/fullscreen/doublebuf.html
vx_buffer_add_back(vb, obj);
- Swap the buffer.
vx_buffer_swap(vb);
WebVx
WebVx is a web server. It manages connections between your application and clients (web browsers). It's job is to send objects that you draw with vx_objects and vx_buffers along to the clients to view them. It does this by creating websocket connections for each incoming client, creating appropriate per-client resources, and calling callbacks that you provide whenever a new client connects. You create a webvx server with a call to webvx_create.
webvx_t *webvx = webvx_create_server(port, "/path/to/webvx_html", "index.html");
The webvx_html directory contains all of the client_side code necessary to communicate with your application, including WebGL code, javascript event handlers, default camera controls, and lots of other stuff. The vast majority of applications will be able to use the provided default directory(magic2/src/jsvx/webvx_html), but if you feel that you need special functionality, feel free to create a copy of this directory and edit anything you'd like. Just remember to point your server at your new copy.
Vx_canvas
A Vx_canvas represents a portion of a literal display device such as a computer monitor or a phone screen. (XXx: Does it? It seems like it could just be a per-client resource, representing a screen? I guess that's the same?). Webvx will create a canvas for each client that connects and pass it to on_create_canvas and on_destroy_canvas. Each vx_canvas is connected to a vx_world, and will "see" the objects you draw into that world through vx_buffers.
Vx_layer
A vx_layer represents a “view” into a vx_world. It acts like a moveable camera that inspects the scene (the vx_world). Vx_layers are also responsible for communicating user-initiated events such as mouse clicks and keystrokes to the server system. Much like vx_buffers with vx_worlds, you ask a vx_canvas for a named vx_layer.
vx_layer_t *vl = vx_canvas_get_layer(vc, "layer_name");
Putting it all Together
Now that we've got the basics covered, we can put everything together into a working example. Create a new folder in magic2/src. We'll call ours jsvx_test. Now copy the following into a .c file in that directory, we'll call it jsvx_test.c.
#include "vx.h"
#include "webvx.h"

typedef struct state state_t;
struct state
{
    vx_world_t *vw;
    webvx_t *webvx;
};

void on_create_canvas(vx_canvas_t *vc, const char *name, void *impl)
{
    state_t *state = impl;

    printf("ON CREATE CANVAS\n");
    vx_layer_t *vl = vx_canvas_get_layer(vc, "default");

    vx_layer_set_world(vl, state->vw);
}

void on_destroy_canvas(vx_canvas_t *vc, void *impl)
{
    state_t *state = impl;

    printf("ON DESTROY CANVAS\n");
}

int main(int argc, char *argv[])
{
    state_t *state = calloc(1, sizeof(state_t));
    state->vw = vx_world_create();
    char webvx_html_path[128];
    sprintf(webvx_html_path, "%s/magic2/src/jsvx/webvx_html", getenv("HOME"));
    state->webvx = webvx_create_server(8123, webvx_html_path, "index.html");

    webvx_define_canvas(state->webvx, "mycanvas", on_create_canvas, on_destroy_canvas, state);

    vx_buffer_t *vb = vx_world_get_buffer(state->vw, "test");
    vx_buffer_swap(vb);

    while(1) {};
}
Now create a Makefile in that directory and copy the following into it:
include ../common.mk
CFLAGS = $(CFLAGS_STD) $(CFLAGS_COMMON) -g $(CFLAGS_JSVX)
LDFLAGS = $(LDFLAGS_STD) $(LDFLAGS_COMMON) $(LDFLAGS_JSVX)

all: jsvx_test

jsvx_test: jsvx_test.o
	$(CC) $(CFLAGS) jsvx_test.c -o $@ $(LDFLAGS_JSVX)

clean:
	rm *.o *~ jsvx_test
make
./jsvx_test
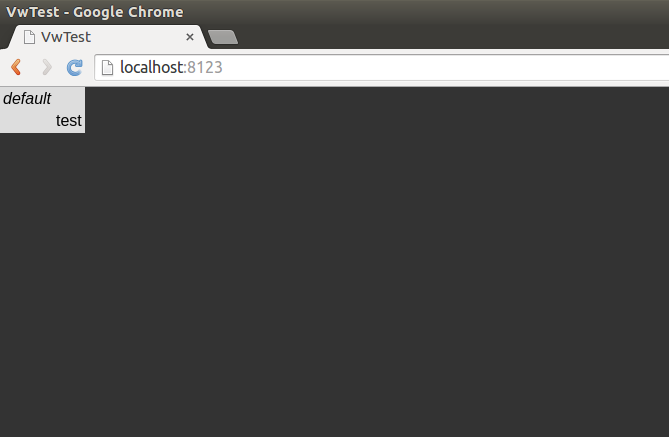
Now fire up a browser and point it to localhost:8123. You should get a page that looks like this:
Draw Something!
Now that we've got all that out of the way, let's draw some stuff. We'll start with a simple, static, circle. Boring I know, but we'll spruce it up later.
vx_buffer_t *vb = vx_world_get_buffer(state->vw, "test");

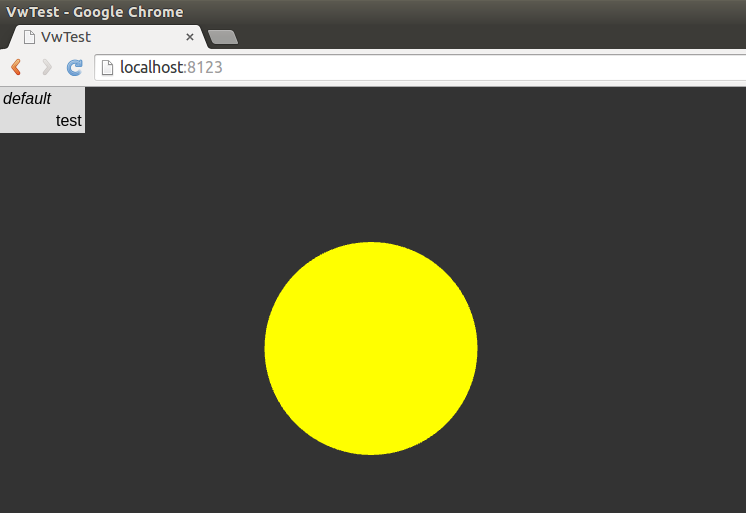
vx_buffer_add_back(vb, vxo_circle_solid((float []){1.0, 1.0, 0.0, 1.0}), NULL);

vx_buffer_swap(vb);
This will draw a yellow circle on your screen. Something like this:

